Showing posts with label vegetables. Show all posts

Tuesday, August 4, 2020

Spicy Quick Refrigerator Pickled Red Onions - Monthly Recipe Theme

This month the recipe theme is "pickled." One of the best ways to preserve fresh veggies is to brine, ferment or pickle them.  The act of placing veggies in vinegar or salt saves the attributes and makes a great snacking or condiment item.  Many folks shy away from pickling because they see it as too difficult, but I have recipes for easy refrigerator or quick pickles as well as canned pickles too.

And this month we will launch our new DIY Refrigerator Pickle Kits.  They come with everything you need to make quick pickles including seasonings, instructions and the jar to make them in.


Spicy Quick Refrigerator Pickled Red Onions

1 Tbls. Sea salt

1 large organic red onion, thickly sliced

1 tsp whole black peppercorns

1 tsp dried oregano

1 tsp cumin seeds

1/8 tsp red chili flakes

1 bay leaf

3 cloves garlic, peeled and halved

1 1/2 cups red wine vinegar

Directions: 

Toss salt and sliced onions together in a bowl.  Allow to sit for 30 minutes or until the onion begins to release juice.  In a sterilized pint jar, mix together the peppercorns, oregano, cumin, bay leaf chili flakes and garlic.  Add the onion, salt and juice to the jar and pour vinegar to the top.  Be sure to cover the onion completely.  Seal with a lid and refrigerate overnight before using.  Enjoy on salad, sandwiches, tacos, pizza and wraps.


RECIPE THEME
Each month a theme is chosen and a number of recipes on that theme from my massive archive will be shared.  This year we have 12 new topics, different from the topics of last year.  To find the recipes of last year, check out this recipe link or search the blog with the topic Recipe2018, or Recipe2019 

You can search the monthly theme by looking for the theme keyword in the search box and it will pull up the recipes on that theme as posted, so look at the bottom of the recipe in each posting for the KEYWORD in the () to search for each  month.  All recipes this year will be tagged Recipe2020 so you can find them all.

The themes are:


Feb 2020 - Footbal Tailgate Favorites (AppFeb)
March 2020 - Kabobs (KabobMar)
April 2020 - Brunch (BrunchApr) more in 2021 also
May 2020 - Non-Traditional Pizza (PizzaMay)
June 2020 - Stir Fry Dishes (StirJun)
July 2020 - Salads with no lettuce (SaladJul)
August 2020 - Pickled things (PickleAug)
September 2020 - Quiche (QuicheSep)
October 2020 - Squash Soups (SquashOct)
November 2020 - Pumpkin (again) (PumpNov)

December 2020 - Turkey Recipes (TurkDec)

Wednesday, August 1, 2018

Garden Vegetable Soup - Theme Recipes for August

This month the theme for recipes is Garden Delights.  That can be anything from a vegetable dish, to a salad, to a great way to use fresh herbs, or a special sauce made with garden ingredients or in the case of today’s recipe a soup made with garden vegetables.


Soups are not something that people think of as a summer food, but seriously a quick and easy soup that uses the bounty of fresh items from the garden is an amazing way to enjoy them and make a dinner you don’t have to slave over.


I got this recipe from Alton Brown and the Food Network back in 2004, but I turned it into a crockpot recipe, so you can set it and get back outside to enjoy the garden.  Just remember to add the herbs just a few minutes before you serve the soup.


Garden Vegetable Soup

4 tablespoons olive oil

2 cups chopped leeks, white part only (from approximately 3 medium leeks)

2 tablespoons finely minced garlic

Kosher salt

2 cups carrots, peeled and chopped into rounds (approximately 2 medium)

2 cups peeled and diced potatoes

2 cups fresh green beans, broken or cut into 3/4-inch pieces

2 quarts chicken or vegetable broth

4 cups peeled, seeded, and chopped tomatoes

2 ears corn, kernels removed

1/2 teaspoon freshly ground black pepper

1/4 cup packed, chopped fresh parsley leaves

2 Tbls oregano, chopped fresh leaves

2 Tbls savory (winter or summer) chopped fresh leaves

1 to 2 teaspoons freshly squeezed lemon juice


Directions

Heat the olive oil in large, heavy-bottomed stockpot over medium-low heat. Once hot, add the leeks, garlic, and a pinch of salt and sweat until they begin to soften, approximately 7 to 8 minutes. Add the carrots, potatoes, and green beans and continue to cook for 4 to 5 more minutes, stirring occasionally. Pour the contents of the stockpot into the crockpot set on low.


Add the stock, the tomatoes, corn kernels, and pepper. Cover, and cook until the vegetables are fork tender, approximately 1 hour to 1 hour 30 minutes. Remove from heat and add the parsley, oregano, savory and lemon juice. Season to taste, with kosher salt. Serve immediately. 

NOTE: If you do not have fresh herbs, you can add 3 Tbls of Backyard Patch Soup and Salad Blend instead of the three herbs and amounts in the recipe.

To find any recipe featured this month - use the search box and type: GardAug
To find any theme recipe from this year type: recipe2018

For 2018 the monthly recipe themes will be:
   January - Chicken Soup (ChickJan)
   February - Beef Stew (StewFeb)
   March - Jambalaya (JambMar)
   May - Ham and Shrimp Dishes (ShrHamMay)
   June - Bread recipes (BreadJun)
   July - Grilling (GrillJul)
   August- Garden Delights (GardAug)
   September - Salsa, Corn and Jelly 
   October - Squash Dishes 
   November - Pumpkin Recipes 
   December - Herbal Cocktails 


Tuesday, September 26, 2017

Spinach and Parsley Growing in Autumn

We decided to put hoops over one of our raised beds and try to expand the growing season.  More for starting plants in the spring rather than the fall, but then I realized Spinach and Parsley in addition to garlic can be planted in the fall for a harvest in the upcoming season.
The end of summer marks a new beginning for spinach and parsley, the easiest veggies to grow through winter.
Young plants that get their start in early fall are strong survivors, capable of making it through temperatures well below zero with proper protection.
You can pick a few leaves in fall, but the big payoff comes in spring, when your overwintered plants start to explode with sweet, crisp leaves weeks before other garden goodies are ready to pick.
Metal tube used to side the beds is covered with pvc bent to hoop over the bed and covered with plastic sheeting.

GROW SPINACH AND PARSLEY THROUGH WINTER:

1.      In areas with strong winds and heavy snow, build a cold frame or low tunnel enclosed by a row cover to provide good protection.
2.      Mix in a balanced organic fertilizer to the garden bed.
3.      Sow seeds or set out seedlings.
4.      Until seeds germinate, keep the soil moist.
5.      Install the frame or tunnel over the plants when the first frost comes, but keep the top or ends open for ventilation until temperatures drop into the teens. Growth will slow as days become shorter and colder, and then resume in February in response to longer days.

TIP:
To speed germination of spinach seeds, soak them overnight in water, and then let them dry at room temperature for up to five days. Parsley seeds will sprout faster if you place them in a strainer and pour one cup of very warm water over them. Allow the seeds to dry overnight on a paper towel, and then plant them.


Tuesday, May 2, 2017

Edibles in your Garden Landscape


Most gardens today are solely ornamental and many of the ones that are edible are tucked into hidden corners of back yards, valued solely for their contribution to the pantry. Before herb gardens and vegetable gardens were relegated to their own spaces, kitchen gardens, cottage gardens, and landscapes around homes were filled plants that were as beautiful as they were useful.

Fortunately, edible landscaping is making a comeback, with more home gardeners choosing to plant attractive edibles that are easy on the eye as well as the dinner plate. A productive, functional and beautiful landscape can be grown on any scale and is especially useful when gardening in a limited space. 

Consider adding a few edibles to your garden from the Garden Club of Villa Park Plant Sale (May 12 & 13, 2017 -  320 E Wildwood, Villa Park, IL)  You can get details and pre-order forms on their website: www.homegardening.org. 

Here are a few basic ideas to get your edibles mixed into your garden landscape:

Height and Depth: pairing together edibles of varying heights in one bed or area creates an interesting look similar to wilder-inclined flower beds. Most vegetables prefer a full day of sun, but some can tolerate 4 to 6 hours of sun.  Any greens and cool-weather loving edibles enjoy the relief of some shade in the hottest parts of the year, so consider interplanting them with taller sun-loving vegetables and edible flowers or herbs. For example, the handsome Spotted Trout Lettuce can be planted under Ping Pong Tomatoes for contrasting colors, depth, height, and a one-stop salad harvest. African Crackerjack Marigolds (a very tall variety) can serve as a backdrop for a row of alternating Red Russian Kale and Purple Vienna Kolhrabi, with Arugula or Spinach interplanted between the brassicas – for a rich landscape of orange, red, purple, and deep green.

In extra cramped quarters, the same effects can be achieved within one pot. For example, Nasturtiums (edible flowers with a peppery kick) can serve as a “groundcover,” draping over the side of a tall container, with one Rainbow Chard and Tom Thumb Pea plant growing up from the center of the pot.


Succession sowing is also a useful tool both for food production and for growing an edible landscape. For example, radishes – a quickly maturing crop -- can be interplanted with Red Express Cabbage – a pretty, petite cabbage that matures quickly, for a cabbage. Sunflowers can be added to complete the trio, which will eventually grow tall enough to shade out the entire area, but not before the radishes and cabbages are ready to be harvested.  You can also use succession planting to give a continuous crop for herbs like dill or cilantro which can form seed rather quickly eliminating the ability to harvest the tasty leaves.

Colorful Contrast: Simply planting your go-to vegetables in a new formation creates a beautiful, new landscape. Planting Purple Peacock Broccoli and Cauliflower in one block will make for a snow white and rich purple/green checkerboard. Grouping a variety of colorful flowers and vegetables in a cluster instead of a row will automatically bring aesthetic interest to a corner of your garden.


The easiest way to create colorful contrast is to let some of your edible plantings go to seed! Not only will you end season with your very own seed bank, but ordinary plants will assume beautiful, new forms: lettuces, for example, will grow tall and bloom like clusters of tiny dandelions; leeks will shoot out one long stalk with a giant, lavender-hued, globe-shaped blossom.

Choose unusual varieties of usual vegetables in the interest of color, nutrition, and flavor. Merlot Lettuce is merlot colored, Lemon Cucumbers are lemon colored, and Rainbow Chard, yes – also true to its name – comes with stalks in varying colors.
 
purple basil in the center pot,
 edible and color coordinated

Substitute: Another helpful way to think about edible landscapes is to substitute edible varieties for each role you want a plant to serve in the garden. Want a vine to climb up the back fence? How about peas, followed by pole beans: they have beautiful flowers and foliage and also produce delicious pods. Looking for a petite tuft of grass to edge your pathway? How about chives instead – a hardy, perennial with great flavor and attractive magenta blooms. Thyme works great not only as an indispensable seasoning, but as a groundcover too, especially in between a stone pathway. Purple Basil can substitute for a coleus and has the same burgundy foliage.  Adding edible flowers to the flower garden can give you double duty. Chamomile and feverfew look like small daisies; Borage, bachelor Buttons, Love-in-a-Mist can all be eaten; Nasturtiums are well known for the peppery flavor of the leaves and the flowers. And pansies and calendula are also edible.

Friday, March 24, 2017

Glazed Vegetables - weekend recipe

Easter is almost here, so lets cook some carrots.  Root vegetables, especially carrots, are enhanced by cooking.  In fact, the nutrient value of carrots (according to a recent study) is actually higher when they are cooked.


Here are the simple steps to creating great glazed vegetables.

Using a dutch over or deep saucepan, arrange thee vegetables in snug layers.  Add 2 to 3 Tablespoons of butter, a Tablespoon of sugar and water to cover.  Boil until the liquid becomes syrupy.  Finish with herbs and seasonings.

You should have glossy, tender and sweet vegetable, but not cloying.  Much of the sweetness comes from the vegetables themselves.  As the vegetables cook the liquid draws out their sugar and reduces to form a delecate glaze.

This works with carrots, beets, turnips and rutabagas. 

Friday, March 3, 2017

Creamy Vegetable Soup Weekend recipe


2 cups chicken broth
¼ cup diced carrot
¼ cup diced celery
¼ cup finely chopped onion
2 tsp Backyard Patch Soup and Salad Blend (or a combination of thyme and chives)
2 Tbls. Butter
¼ cup all-purpose flour
Dash salt
2 cups milk
1/2 cup cubed processed cheese (Velveeta)


In a small saucepan, bring broth to a boil.  Add carrot and celery; simmer, uncovered for 5 minutes or until tender.  In a large saucepan, sauté onion in butter until tender.  Stir in the flour and salt until blended.  Gradually add milk.  Bring to a boil over medium heat; cook and stir for 2 minutes or until thickened and bubbly.  Stir in carrot mixture.  Remove from the heat; add cheese and stir until melted.  Serves 4.

Tuesday, August 30, 2016

Backyard Garden Update - August

In August I started to notice that the plants were a bit behind,  We were not getting much produce, but the plants were going well so I realized it was just that we did not plant until well into June because we had to build the beds.

We did have one big disappointment in August.

corn before the carnage
The lovely corn plants in the three sisters garden tasseled, and grew ears which produced silk.  This happened around August 1.  According to literature corn should mature 10 to 12 days after you see the silk, so I was planning for a corn harvest, my first ever, around the 15th of the month.  This was not meant to be.
 The only photos I took of the ruined corn

after first attack a couple of stalks left
I did not take many photos of the corn stalks bent and torn and tossed around the yard, which happened in three separate attacks.  It was just too sad.  I yanked out the stalks and placed them in the compost bin because they were so bent and broken, there was no saving them.

Otherwise the garden did well in August.

We harvested tomatoes several times and made and froze three batches of spaghetti sauce. We harvested and replanted the kohlrabi and actually started to get some jalapenos and green peppers. The green beans were prolific and very tasty.  We grilled them, marinaded them and pickled them.


better boys 
                                            
Romas
Acorn squash


Green bush beans
cucumbers
 
 These Zinnias planted in shade (oops, my bad!) took forever to get going, but once they did the blooms have been lovely.


The Hyacinth Bean has out done itself.  I have killed the plant in the past, so I over planted the seed and every single seed germinated so there are 8 plants growing on the little trellis.


The beans are in bloom now at the end of August and I expect to get a bumper crop of beans to plant next year and share with others.  I think next year I will find a way for them to grow sideways along the white fence, because the flowers are striking pinkish purple and stand out on the white extremely well.

Tuesday, July 26, 2016

Backyard Garden Update July

July was a whole lot of let it grow.

These are some of the plants in bloom


 Mabel Grey Scented Geranium

 
 Calendula just before it began to bloom.
 Nasturtiums
 Swamp Milkweed


 Gazania
 Anise Hyssop

 Yarrow

 Artemesia

The back yard enjoying growth and decoration.  We added a third trellis back by the fence for Hyacinth Bean.  I got some seed from the Garden Club and planted them along the bottom.  The trellis is to keep Chas from trimming them down before they get big enough to grow on the trellis.  Hyacinth bean can grow inches in a day, so although an annual it can cover the trellis by the end of the season with no problem.


 The peas have taken over the string.  I am not sure what to do now that they are higher than the posts.


 Scented geraniums by the back door.


 The vegetable garden is getting tall and full with much potential by the end of the month.


The herbs seemed to be growing more slowly than I expected so I started a program of adding compost tea and new rich soil and compost to the garden in 2 week intervals to see if there is improvement.  By month end they are beginning to get better.


 The rain garden in mid summer


 By month end the calendula and Nasturtiums joined the rest of the flowers in bloom!


Tuesday, June 28, 2016

Backyard Garden Update

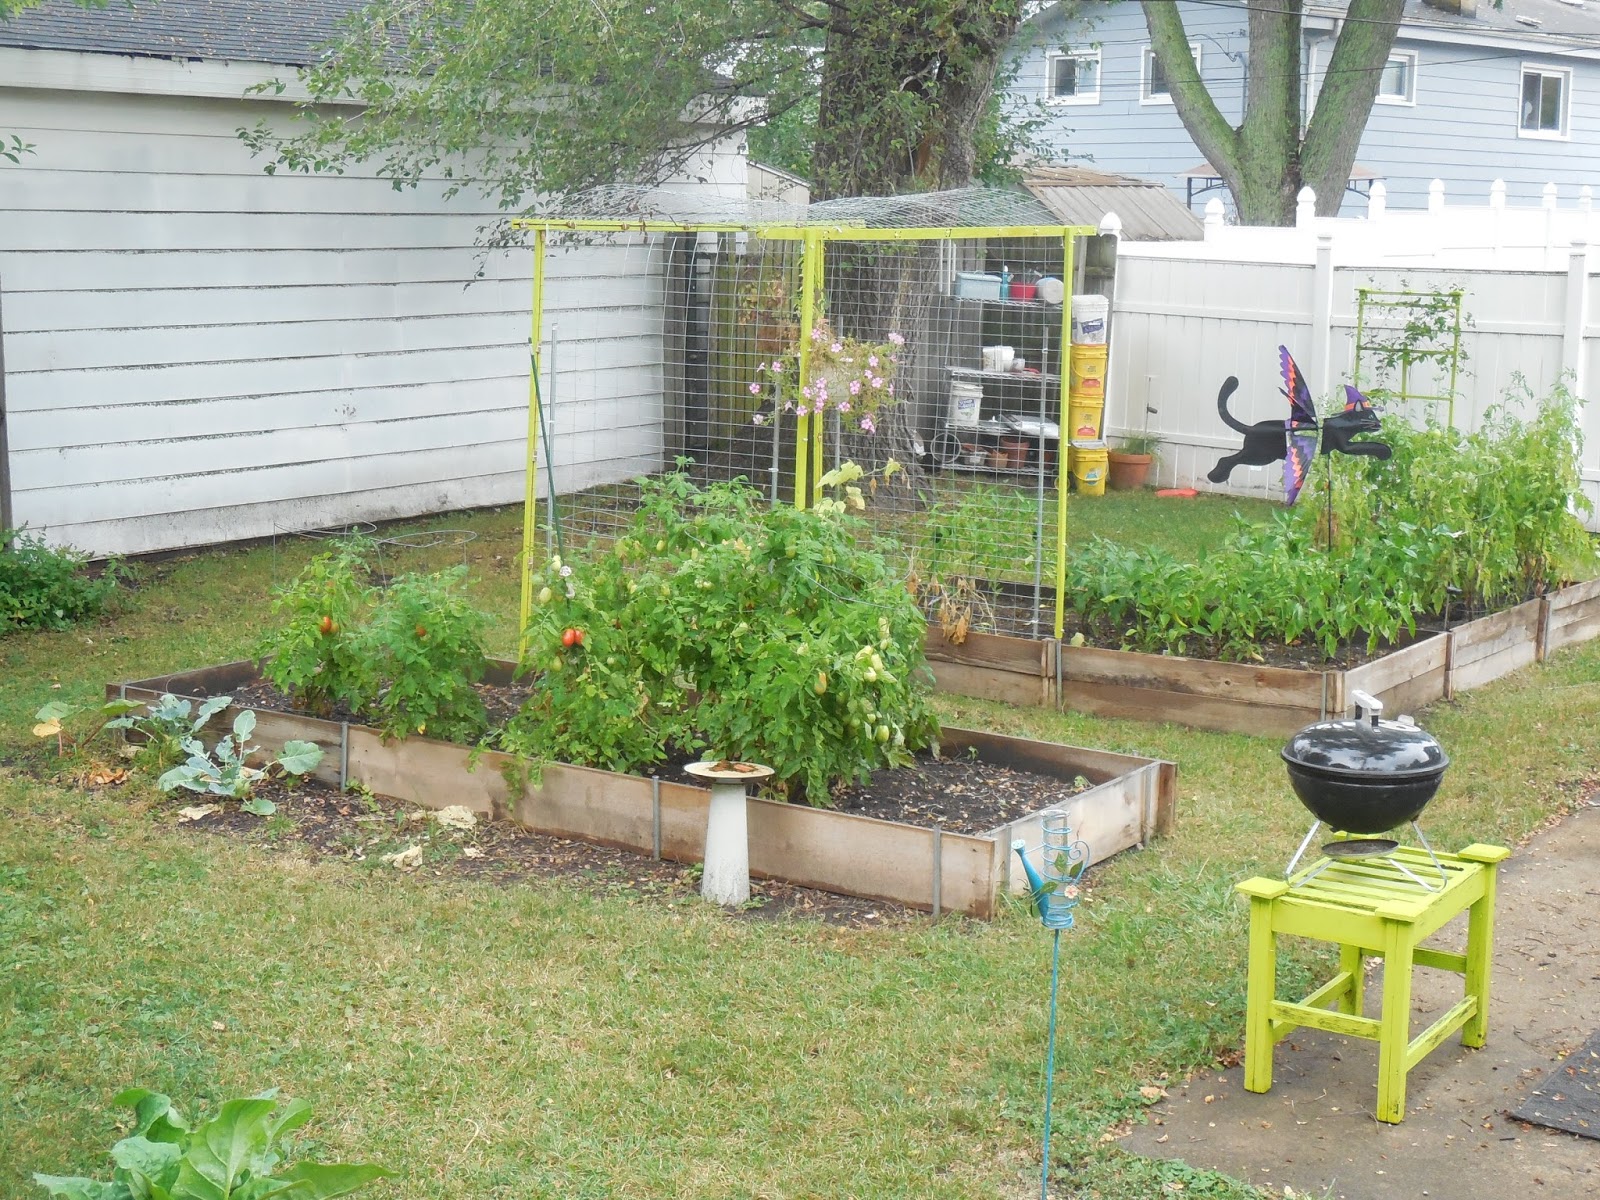
We crafted the raised beds back in late May and planted them over a couple of weeks.

We started with the two front (closest to camera beds) then added three more behind them.  The former sandbox in the far right was converted to an herb garden last year and added to this year.


The hubby made me two trellises.  One for cucumber (foreground) and one for coreopsis in the background.


Three of the raised beds were given to me by a friend in the garden club.  The two not so weathered are new.  Was going to make them from scratch, but found these at ACE hardware and they matched the others so we were thrilled.                                                                                                                                                                                     We still did not have enough room, so ended up planting extra plants in the "corners" between two raised beds, or at the ends.  May regret this when things start to spread.

Strung string between to posts for the snap peas to grow on.  These are for Chas.... I hate peas!


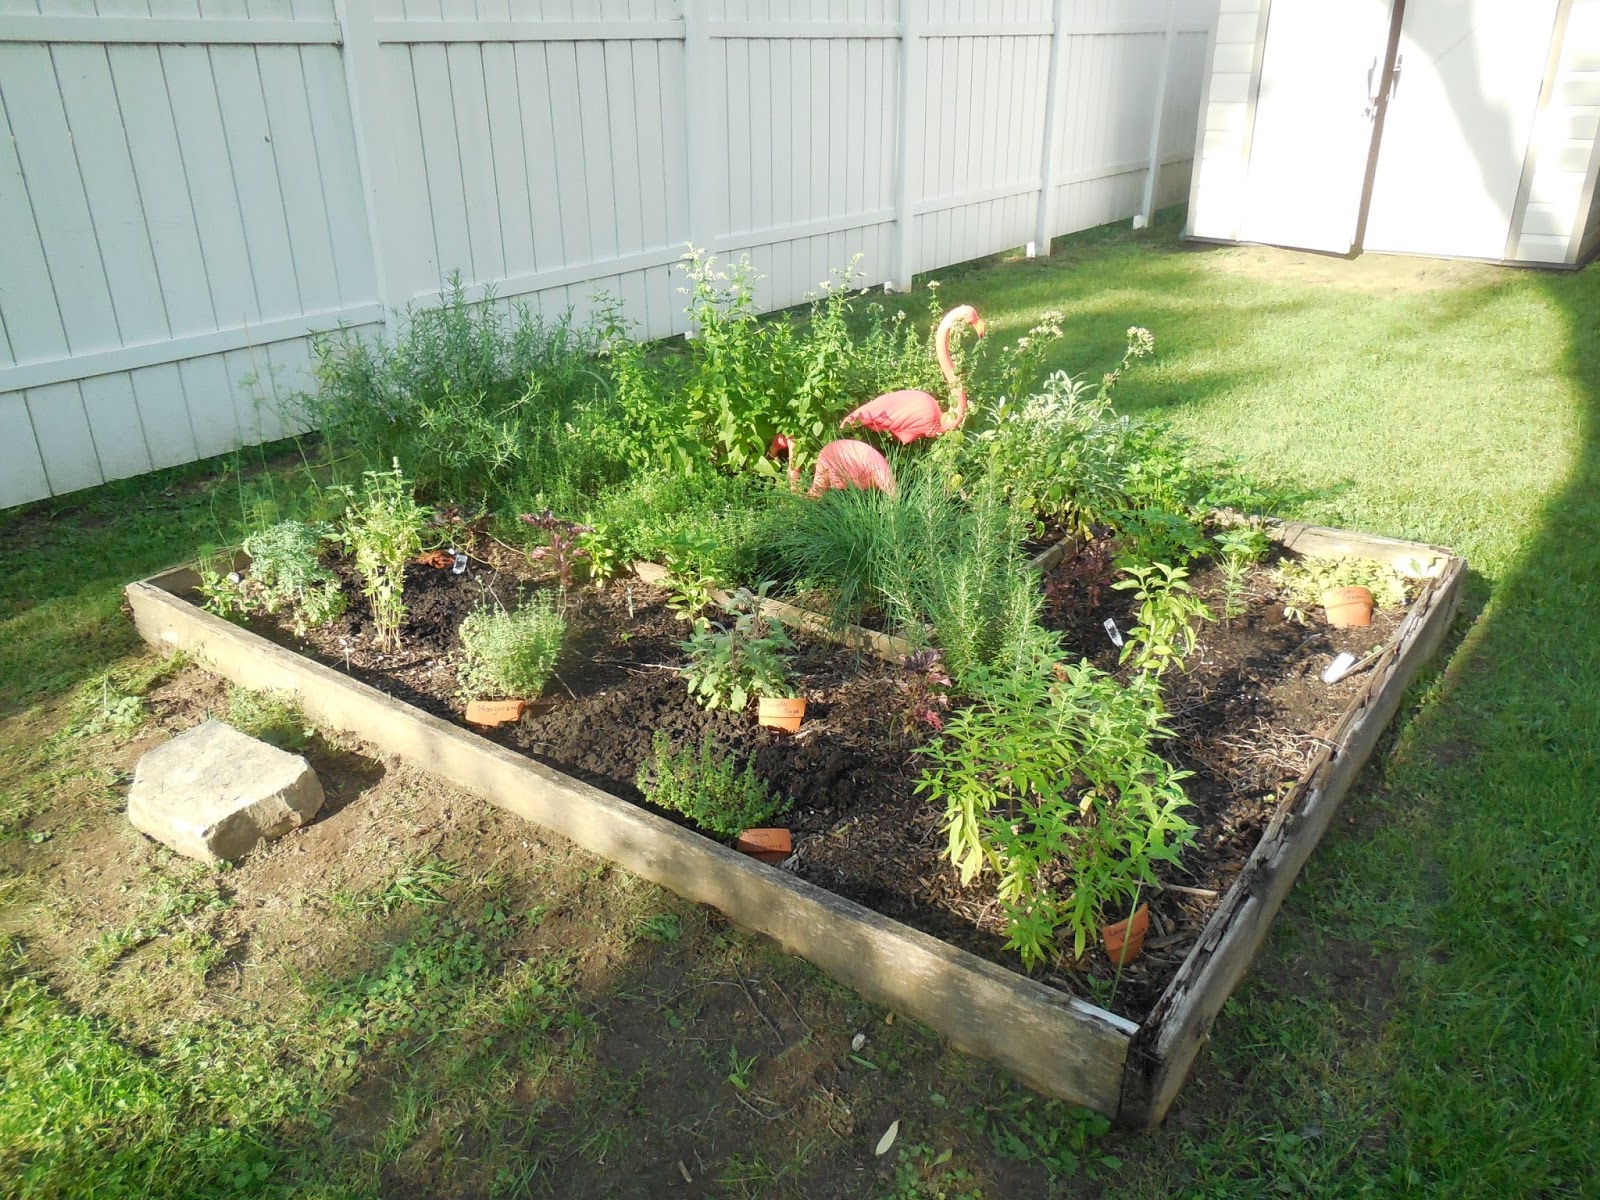
 Here is the Herb garden.  The larger plants are the ones planted last fall. The L-shape area was prepared with compost and additional soil to be able to take new plants.  The older area I prepped in a hurry last fall and only had enough soil for that small space.  We composted fall leaves and sticks and had more soil by springtime.


 I put in a rosemary and a lemon verbena in the ground.  I have not done that in years.  They grow so much better in the ground, but then you have to dig them up in the fall.

This year someone in the garden club had strawberry plants so I used my strawberry pot!
Related Posts Plugin for WordPress, Blogger...