Okay, do you have
extra rolls of toilet paper in your house too?
We did not even hoard, we
just bought a package if they had any at the store when we were shopping and as
a result, we have a few extra rolls. I
had always heard that you could make seed tapes with TP, so I figured now was a
great year to try it with all this surplus.
There are several ways
to make seed tape, I found instructions on Hometalk Make Your
Own Seed Tape | Hometalk , Mistress of Dirt How to
Make Seed Tapes for Easier Sowing | Empress of Dirt and Garden Betty Make Your Own Seed
Tape - Garden Betty
Seed tape is basically a strip of paper with
seeds embedded for precision planting. If you have trouble with spacing, or if
you like me think more seeds are better, or you have trouble telling seedlings
from weeds, seed tapes are a great way to plant. Seed companies make seed tape, but rarely is
it made in every variety so a homemade tape with your perfect seeds is the way
to go.
All you need is toilet paper and glue and a
couple other items to make the job easier.
Because they’re on a tape
(or length of toilet paper, really), you can also control how far apart they
are planted. The entire thing is placed in the garden. The toilet paper will disintegrate,
and the seeds will sprout right where you planted them.
How is this different from simply going
outside and dropping a seed into the ground? Why take the extra step of making
seed tape?
Seed tape is good for:
+ tiny, hard to manage seed.
+ Seed you don’t want to
plant too much of just to have to thin out later.
+ increasing germination
rates.
+ less seed waste
+ Giving you a winter garden
activity when you are dying to garden outside (even though it is -11 today!)
+ keeping seeds in place
when there is a hard rain.
Making Seed Tape:
- Toilet
paper or paper towel
- Seeds
- Paint
brush, pencil or tweezers
- Glue
/ paste made from 1 teaspoon baking flour and a bit of water; or Elmer’s glue
mixed with a bit of water; or straight up dots of water soluble glue
- Measuring
tape / ruler
Steps to creating seed
tapes:
1 1. Make
your own paste by combining flour and water. The glue should be thick enough to
sit on the end of your brush or pencil without dripping. You need only about a
teaspoon of flour to glue several tapes.
2, Decide
on the length of your tapes. For a
raised bed or in ground flower bed 2 foot lengths work well. For container gardening, make tapes about 12 inches long.
3. Tear
off the length of toilet paper you want and write the name of the seed type on
it. Do this first or you might forget.
4. Use your
seed packets to help you decide how close together you want to place the seeds. Make them slightly tighter together to make allowance
for germination issues.
5. Pour
the number of seeds you’ll be using on a clean plate and spread them apart so
they’re easy to pick up one at a time.
6. Place
a dab of glue and add a seed.
OR You
can add the glue to the TP and then drop in a seed to each drop.
OR put
the glue on a pencil tip and poke it into seed and place on TP OR dab a paint brush in glue and draw a line and then sprinkle seed onto the wet
glue.
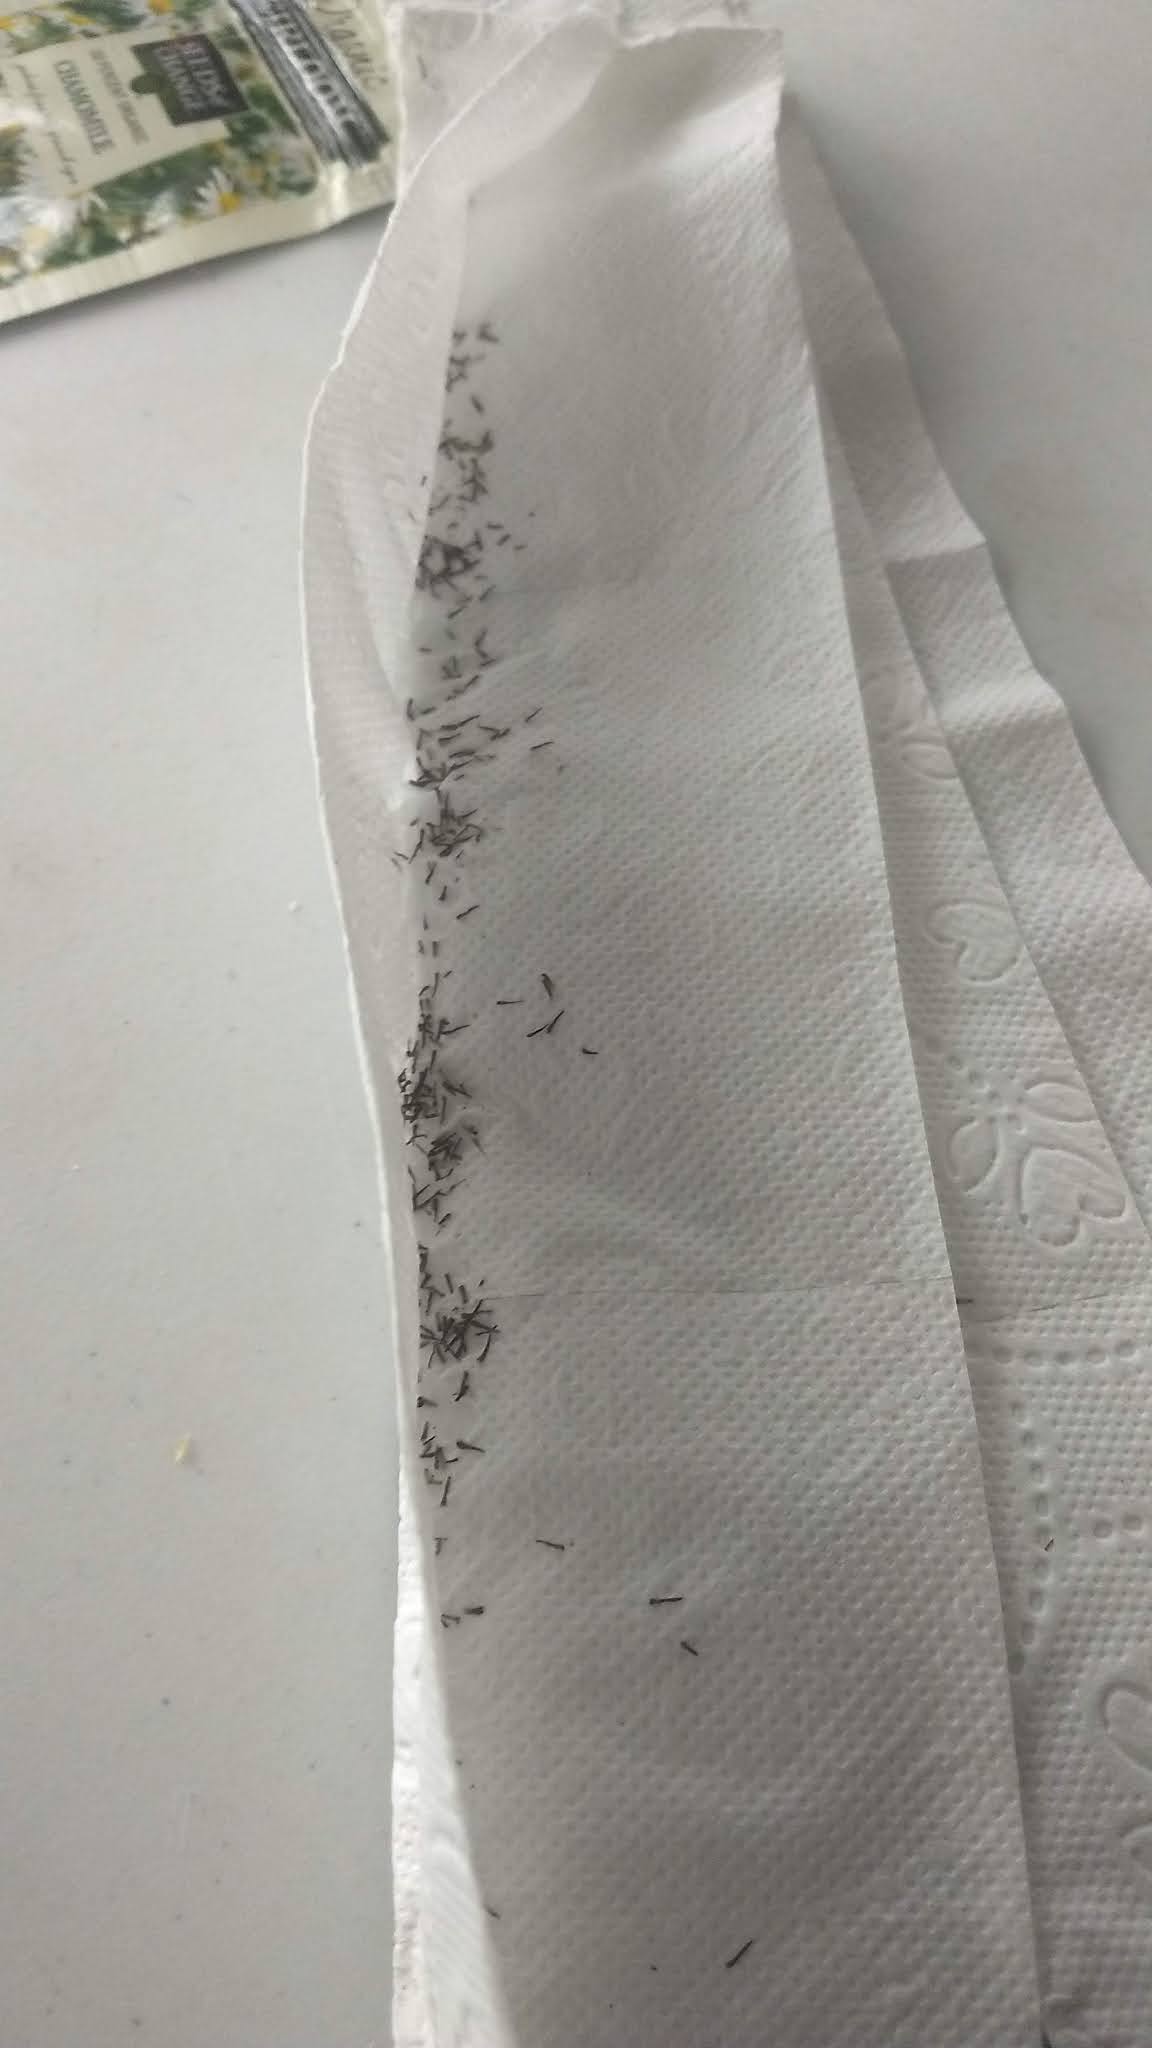
7. Fold
the TP over the seeds before the glue is dry to protect them from falling
off. This is especially good to do with
tiny seed Once
dry, the seeds will stay in place.
Extra tips:
·
When those little glue
dots have hardened, roll up your seed tape and stash it in an envelope or
zip-top bag until you’re ready to use.
· For
some plantings you can get more per square foot by planting diagonally rather
than in a straight line. You can create
tapes and off set them or use a zigzag pattern down the length of paper.
· Using tweezers to drop
a seed onto each dot of glue, can make the process easier than using fingers or
a paint brush.
· Since tiny seeds
barely need to be covered, the paper makes it simple to see how much soil
you’re adding on top.
· Once you’ve glued on
all your seeds, allow ample time for the glue to dry and make sure the seed
tape is not sticking to your surface.
I roll the seed taps up and store in a ziplocked bag until ready to plant.
When planting your seed tapes: At planting time, simply water your soil and smooth the surface.
Unroll your seed tape, set it on top of the soil, and lightly cover with more
soil. It’s okay if the toilet paper shows through a bit; it will quickly
disintegrate and decompose in the ground.As with seeds sown, either by seed tape or the traditional way,
gently mist or spray the soil until the seeds have sprouted and established
firm roots; you don’t want a strong blast of water to displace your meticulous
work. Within a week you should see perfectly spaced rows of little seedlings
coming up!