Showing posts with label fresh herbs. Show all posts

Monday, July 15, 2024

Fresh Herb Sun Tea - Tea Blend of the Month

July is the best month for fresh herbs. Everything is growing well, the sun is at its best, the herbs need to be cut and there is generally an abundance. So this is the perfect time to make a sun tea with all those fresh herbs.

For this one you can use two quart jars or one larger two quart jar with the same results.


Fresh Herb Sun Tea (for about 2 quarts)

2 quarts water 6-10 leaves mint (any flavor you have or enjoy) 6-10 leaves spearmint 6-8 leaves of lemon verbena 3-5 sprigs of rosemary 3-5 sprigs lemon thyme (or any kind of thyme) 6-10 leaves Stevia ( or 1 1/2 Tbls sugar) 1 lemon, juiced 1/3 cup of raw honey
Start by washing herbs as needed. Next fill 2 quart jar(s) with hot water. Then tie together rosemary and thyme with string into two bundles. Place one bundle in each jar or place both in larger jar. Rough chop or break the remaining herbs with hands, including mint, lemon verbena and stevia (if you do not have any stevia just use sugar or sugar substitute.) Cut lemon in half, squeeze one half into each jar or both into a larger jar. Add honey to jar(s) and stir.
Cover and let the tea sit out in the sun for 5 - 12 hours. Strain with clean cheese cloth or a coffee filter and a wire mesh strainer. Refrigerate or pour over ice and serve. Enjoy!


Friday, February 15, 2019

Pasta Primavera - Weekend Recipe

EDIT: Nothing like presetting all the monthly recipes to take care of the posting so I can lecture prep and realizing that it never happened 2 months into the process.  So if you were expecting these recipes to post during the month for your enjoyment, I am sorry.  If you want to find the recipes which have now posted, try out the links below in the theme list.


Pasta Primavera

Vegetables:
3 tablespoons olive oil

2 large carrots, peeled and sliced diagonally  

1 cup bite-size broccoli pieces 

1 red bell pepper, seeded and sliced into strips  

2 tablespoons butter 

4 ounces white mushrooms, washed and sliced  

2 medium zucchini, sliced diagonally 

1 medium summer squash, sliced diagonally


Sauce:

4 cloves garlic, minced

1/2 large onion, diced 

1/2 cup chicken broth, plus more as needed 

1/4 cup white wine or chicken broth

1/2 cup heavy cream or half-and-half 

1/2 cup grated Parmesan, plus more for serving 

Salt and freshly ground black pepper  

1/2 cup frozen peas 

12 fresh basil leaves, chopped, plus more for serving 

3 fresh Sage leaves, chopped

3 sprigs fresh thyme, striped

1 pound pasta (fettuccini), cooked according to package direction


Directions

For the vegetables: Heat 2 tablespoons of the oil in a large skillet over medium-high heat. Add the carrots and cook for 1 minute. Then add the broccoli; cook for another minute. Add the red peppers; cook 1 minute more. Remove the vegetables from the skillet and set aside.

To the skillet, add the butter and the remaining 1 tablespoon oil; allow to heat up. Add the mushrooms, zucchini and squash, and cook until starting to soften, 2 to 3 minutes. Remove the vegetables from the skillet and add them to the other vegetables. Set aside. 

For the sauce: Add the garlic and onions to the skillet, and cook until starting to turn translucent, about 2 minutes. 

Next, pour in the chicken broth and wine; stir, scraping the bottom of the pan to loosen all the flavorful bits. Cook for 3 to 4 minutes, until reduced by about half. Stir in the cream and Parmesan, and allow the cheese to melt. Add salt and black pepper to taste. 

Add the cooked vegetables to the sauce, along with the peas and herbs; stir to combine. If the sauce needs a little more liquid, splash in a small amount of broth. Place the cooked pasta in a large serving bowl and pour all the contents of the skillet over the pasta; toss to combine. Sprinkle with extra basil, and serve with extra Parmesan.
RECIPE THEME:
Each month a theme is chosen and a number of recipes on that theme from my massive archive will be shared.  This year we have 12 new topics, different from the topics of last year.  To find the recipes of last year, check out this recipe link or search the blog with the topic Recipe2018

You can search the monthly theme by looking for the theme keyword in the search box and it will pull up the recipes on that theme as posted, so look at the bottom of the recipe in each posting for the KEYWORD in the () to search for each  month.  All recipes this year will be tagged Recipe2019 so you can find them all.

The themes are:

Jan 2019 – Chicken and Dumplings (CDumpsJan)
Feb 2019 - Pasta Dishes (PastaFeb)
March 2019 - Edible Flowers (FlowerMar)
April 2019 - Cajun And Creole
May 2019 - Seafood Recipes
June 2019 - Vegetarian Dishes
July 2019 - Zucchini Recipes
August 2019 - National Mustard Day – mustard recipes
September 2019 - Quiche
October 2019 - Crock Pot meals
November 2019 - Pies
December 2019 - Mocktails

Tuesday, June 3, 2014

Facing the Music - What does the herb garden look like this year

There are no good overall shots of the garden as yet. I sat on my camera and broke the screen, so now I cannot tell what I am taking pictures of and I cannot change the settings.  Until I get a new camera, I can take outdoor photos, medium range, full sun only because that was the setting when I sat on it.

Here are some details of the garden plants.  There were some situations I prayed would not happen, some I expected and others that were a complete surprise.

We will start with some good news.  The Catmint (and other mints) are thriving, not even a polar vortex can keep mint down!

catmint / catnip

The whole row looked as good as these couple of plants. This chives got very thick, like German leek chives, I do not know why.  The flowers are not as purple as in past years, more of a pink shade.  I took this image and promptly cut off all the flowers for vinegar!

chives
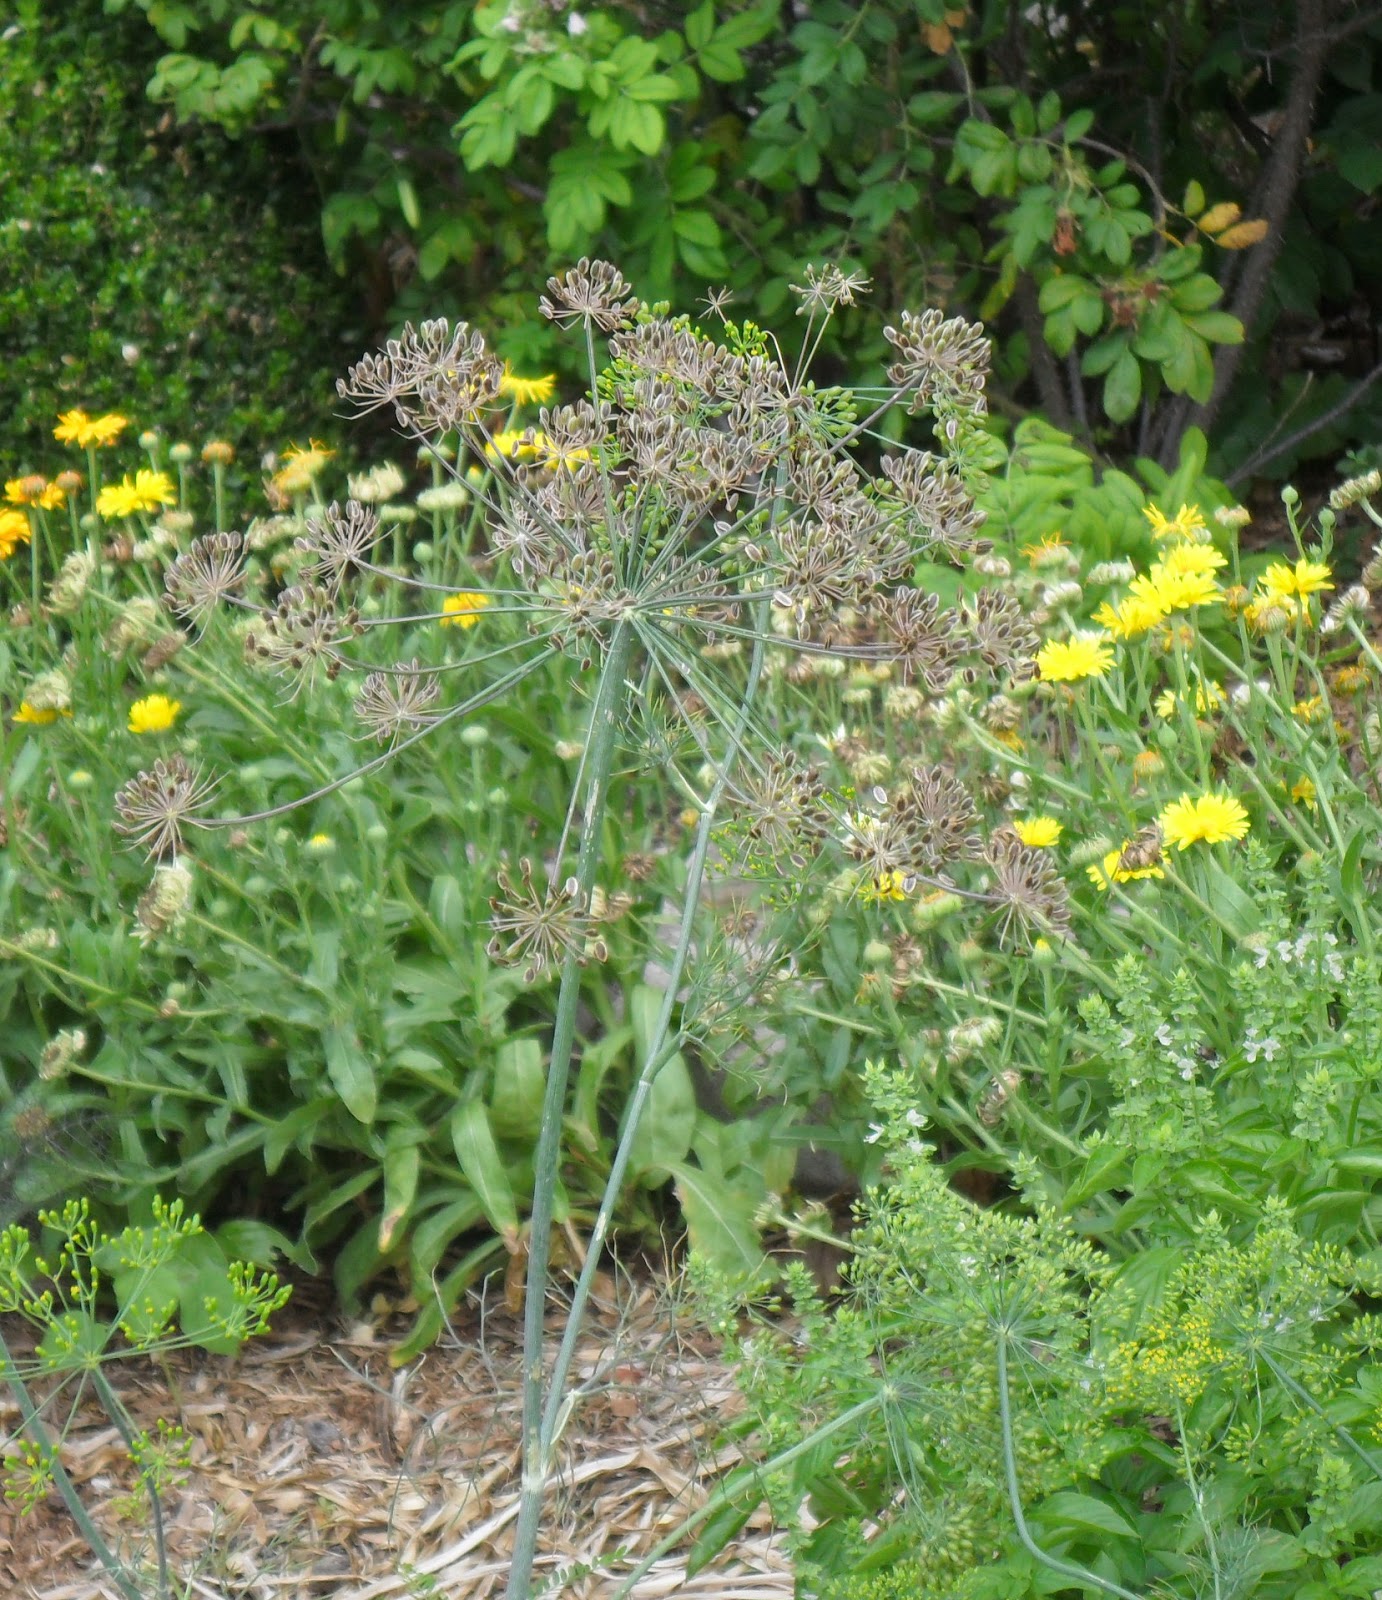
The dill did come up from seed, some from last season self-sow and some I threw down this spring, but the early heat made them leggy and thin and they are falling over already.

dill
Now to the expected bad news.  This winter was too harsh for lavender.  Even though I do not trim them in the fall and even though I piled mulch on them after the first frost, they were largely dead this spring.  In hopes of encouraging growth from the base, I trimmed them a month ago.  However, well... you can see the results.
dead lavender

end plant from above photo with some small growth!!
More dead lavender, but one plant has made a healthy comeback.
I prayed that the snow cover would protect and preserve my thyme plants when the weather turned bitter, but this was not to be.  My lemon thyme fared best, those plants int he middle of the row arte still alive.  The ends of the rows are all dead and have been ruthlessly yanked from the ground so there is no photographic evidence of their demise.  However, the lowest growing thymes seem to have fared the best.  There was some winter kill in the creeping thyme.  The red creeping thyme, almost a miniature thyme seems to have fully recovered from winter with few dead stems.  It is now a carpet taking over the vacated places of its neighbor plants.

common thyme with winter kill

creeping lemon thyme with winter kill

Creeping red no death at all!
The peppermint, of course wintered over, but it was stressed and this spring was plagued by an infestation of bugs that are damaging the leaves and leaving black spots.
Black stem Peppermint
 From a distance you cannot see the damage, but if you look at a close up of the same plant you can see the infestation and the leaf damage.,  See the white bug there in about the middle of the photo?

Peppermint
The plant that surprised me with its inability to survive the winter was sage.  A woody shrub it is normally my first plant to green in the spring after the salad burnet and chives, but this year some plant stalks were totally dead.  Many of the plants did spring new growth from the crown, but they are in sorry shape and there was no spring harvest of sage this year. (I love the sweetness of spring sage leaves and use them in salads and to make vinegar.)
Russian sage growing from the crown the stalks still dead.

The plants at the top of the picture are just dead.


Common sage again many dead branches

I have many more pictures of dead sage, but I think this is enough carnage.  Now back to some good news.  The rue is fine and looking a nice bright green and flowering (a bit early).

Rue
The Golden Anise Hyssop I got after seeing the plant at the Arboretum last year not only made it through the winter, but it self seeded some wonderful little friends.

Golden Anise Hyssop
At first when I came into the garden and saw these plants, I thought they were lemon balm because of the bright green color, but when I realized the lemon balm should be on the other end of the garden.  I panicked thinking they had been relocated by wild life or water, but then I realized it was anise hyssop and I was pleased that my single plant (lower left corner of photo) had made so many babies. There is hope and growth after the long winter after all! 

In posting these photos I noticed something I did not while I was taking the pictures.  There are a lot of weeds in there.  I need to get to work!

Wednesday, September 4, 2013

Saving Seed


Each year I make a point of saving a few seeds, but this year I thought I might make a more concerted effort.

In chatting with a few friends, I realized that some people do not collect seeds because they are unsure what the seeds look like and how to save them.

Now when I started looking for info to share, I came across Mr. Brownthumb.  He has several great blog posts including one on making a kit for collecting seed.  Now I am not as organized as he is, but I do collect some of the same seeds.

The largest family of flowering plants is Compositae (Asteraceae). So if you are hoping to save the seed of flowers from your garden these are probably the ones you are trying to save.  The Aster family includes asters, sunflowers, Black-eyed Susans, rudbeckias, daisies, gazanias, calendula and zinnias.
Another place to look up information on seed saving is the seed saving forums on Garden Web.


The largest family of flowering plants is Compositae (Asteraceae). So if you are hoping to save the seed of flowers from your garden these are probably the ones you are trying to save.  The Aster family includes asters, sunflowers, Black-eyed Susans, rudbeckias, daisies, gazanias, calendula and zinnias.

 
Zinnia of the Compositae family

I experiment with various annuals each year, trying a new basil or two, growing a different dill or a unique nasturtium color combination.  When I discover a plant I want to try again, I will save the seed.  I could say it saves you money buying seed in the spring, but I cannot say seed saving has ever saved me from spending once the catalogs arrive.

You want to save seeds when you have a good year and this was a very good year, which got me to thinking about being more organized.  You want to pay attention to the weather report and harvest before a rain or highly humid day, moist air can cause a dried seed to expand and crack ruining it for spring germination.

 
Where are the Seeds?

On herbs it is hard to miss the seeds as they tend to be obvious, like on dill or basil.  But flowering herbs like Nasturtiums are a bit harder to locate.


Plants in the Mint family may produce many tiny flowers among a stem, like basil or Anise hyssop.  These are a spike of tiny flowers each with a seed nestled back at the stem. Collect these seeds by shaking them inside of a paper envelope. Cutting off the stalks and hanging them upside down also helps release the seeds inside.  Of course this assuming you let them flower which I do not always do, clipping the flowers off as soon as I see them.  However, come September I choose the best looking plants and let them flower and go to seed so I have seeds to collect.

 
With Coneflowers like Echinacea or black eyes Susans. (Aster Family) the center of the flower is black and is actually made up of smaller flowers that each produce a seed.  You will be capturing that entire center as the seed head. Compositae flowers, like those of calendula and zinnia, have tight bunches of petals, with no “eye,” but the seeds develop right in the center.


With a flower like a dandelion the ends of the petals are the seeds so you want to collect the flower head before the flower is entirely faded, because it will blow away in the wind taking your seed with it.


As you see the key to flowering plants is to look near the petals.  The colorful petals attract the pollinators, then once pollinated die back or fall away leaving the seed exposed so it can be scattered.

Nasturtiums have a very open flower that does not develop a seedpod, instead the seeds hang below the flower in a little bundle.  But all you have to do to find them is sweep back the plant flowers and they will be hanging underneath.

Alliums, or chives, are a flowering bulb, but the attractive puff ball flowers do produce seeds as well. You want to cut the flowers before they drop, but after they seem spent.  If you wait too long the seed will scatter before you collect the flower head.


Seeds from vegetables and fruits like tomatoes, peppers, cucumbers are found inside among the flesh.
Saving the Seeds 
To save seeds you need containers to keep them in while collecting and those to store them in once collected and separated.
I generally collect in paper bags and paper envelopes so any moisture in the seeds is not trapped in a plastic container.

Once the seeds are dry, then I place them in a new envelope or other sealed container to improve their longevity.  If I have a collection of envelopes, I place those in a canning jar or a coffee can.


Record the information about your plant when you harvest the seed, plant name, soil conditions, and height of the plant.  You have to do it when you harvest because even 15 minutes later you will forget what you cut from where.
Don't crowd too many plant stems or seed heads into a small envelope when you're harvesting seeds.
To dry the seeds after I collect them I spread them like my herbs on paper towel in cardboard trays.  Or I leave them in the paper bag I used to collect them.  You want to remove as much plant matter (leaves, petals, etc.) as you can to avoid mold.  If leaving them in a paper bag you want to shake the seed heads to keep them evenly drying.  I will actually stir those on the tray with my fingers occasionally.  You only need a few days to get the seeds dry if conditions are right. 


Once the seeds are dry place them in small envelopes for finally saving.  You can use a plain envelope. Or you can make a specialized one or even a decorative one.  If you like a reminder of what to put on the envelopes of seed, try this template for seed envelopes.
Once you have all the envelopes labels, place them in a glass jar with a tight fitting lid to keep moisture from coming back into to the seed damaging its germination rate.


Related Posts Plugin for WordPress, Blogger...